If we did all the things we are capable of, we would
literally astoud ourselves. - Thomas A. Edison

Wednesday, August 17, 2011

Life in Training

So at the ripe old age of 30,  I taught myself how to sew. I have made my own bread and attempted to jar some apricot jam. I have officially planted flowers, 3 to be exact. I've also started making my own furniture for our home. I've painted and I'm learning how to decorate and discover the things I love. All of this has happened since I moved to Idaho over a year ago. Maybe it's because it's a whole new world, I have no job, no family, no friends, no money and lots of time on my hands...

I miss my family, my friends and my "old" life so much and I'll admit that I completely shut down. I felt lost. I sat around all day with the kids, never leaving the house for days...


Most days I still don't leave the house, but I'm getting better about getting out and at least taking the kids to the park for play dates. I've starting developing talents and learning about things I never even thought of before.

 It's amazing to me how much time I've wasted not learning about EVERYTHING! My Dad installs hardwood floors for a living. If only I went to work with him I would be able to install floors myself. My grandma can sew anything. If only I watched her and was able to sit with her and learn how to make things. My Mom knows how to do stained glass. I never learned. The talents in my family and of those around me are amazing and inspire me to be a better person and learn as much as I can.

Now, it's my time to learn and give that opportunity to teach my children so they don't grown up not knowing what talents they may develop and enjoy.


 Rylee had a cake decorating class at JoAnn's. She loved it and I love seeing her learn...


I'm so proud of her. She's been exploring in the kitchen too, making her first batch of bread.


Not perfect looking but tasted so good. The accomplishment of doing it all by herself is priceless.


Learning about nature...and how slimy snails are.


How to play....

How to get dirty...


How to sew...


How to be a family...


To make family time a priority...


How to read...


How to solve problems...


How to be a parent...

I'm so thankful for my family and the time I have been given to raise my children and grow together as we learn about the world around us. The time I've had up here away from everything I know...a blessing in disguise.

Sunday, August 14, 2011

Hung Up...

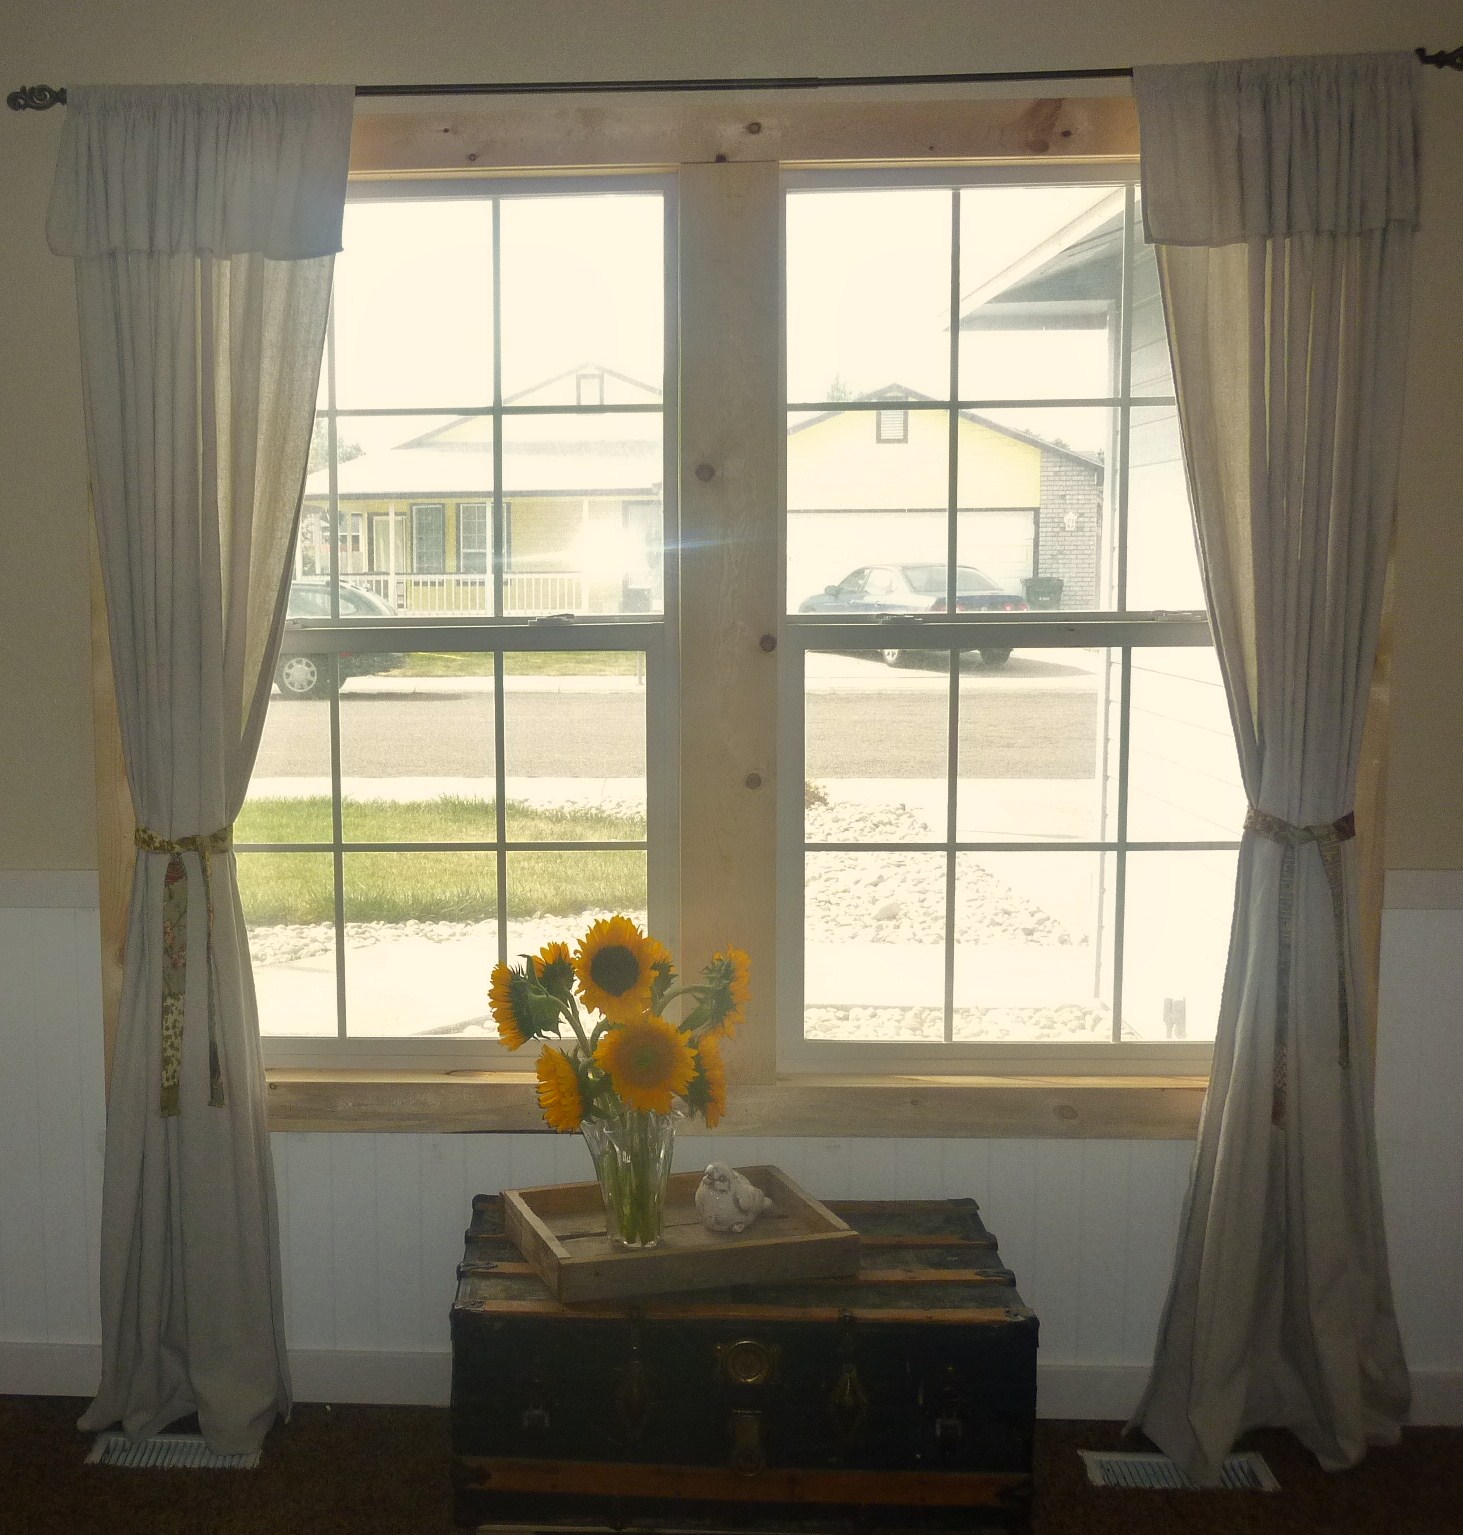
I originally made some curtains out of drop cloths for our living room (yes, I joined the drop cloth phenomenon - don't judge me), with some inspiration from Donna. I did sew a small pocket so I can slip a pole through it, simple and easy! Once they were hung up though, they covered way too much of the door and blocked light which I HATE. Plus the kids and dog were pulling or stepping on it every time they went outside. Did I mention I also hate doing laundry?

My solution? Move them over just a little bit more, high and wide as John and Sherry always say. Tons of awesome information and helpful hints, I love them. So, down they came and into the front room they went. And I love them there...until I change my mind again :)


Our living room has been without curtains for, oh about 6 months. Shameful. It only bothers me at night when our creepy neighbor walks around late at night and makes our dog go crazy. Weirdo. Since I wanted to move the rod over another 6 inches, our original rod didn't fit. More waiting. Then I had a brilliant idea, how about a long branch? My brother-in-law Chris has one above their dining room area and it looks great...really rustic. I told Paul we should go branch hunting and he looked at me like I was crazy. What?! Doesn't everyone go hunting for fallen branches or dead trees around town? And if the tree is dead, people shouldn't care if we cut a little off? I'm just saying, I don't want to steal anything...just purposefully remove and reuse. He wasn't having it.


Luckily my brother-in-law told us half of his tree in their backyard broke off recently, and there were tons of branches for us to choose from. Gotta love FREE. Paul and Chris went searching and came back with this looong branch, full of little nubs.


I love nature but this branch was so ugly. I thought I could sand it and maybe stain it...


Hmm, maybe a little too rustic for me. You can see how far over the holes were before, with the other brackets. Plus, I want to be able to close the curtains at night and I can't imagine tugging successfully over those nubs. I lived with it up there for a week just to be sure I didn't like it. We took a trip to JoAnn's yesterday and they were having a 40% off sale on curtain rods. Of course I had to call Paul and ask him how long 120 inches was to make sure it would fit, because my measuring skills are seriously lacking. It would fit perfectly with room to spare. So for $25 I picked up a new rod.

Now I have to get making those curtains. I had some white fabric that never got used for a different project. So... my sewing skills are also seriously lacking and I have no idea what I'm doing! If I even attempt to describe this as a tutorial, you will laugh so it's more of a play by play of what I did...my way :)

First thing I did was wash the fabric. Second, I sliced off the bottom, to get rid of the fraying and make things as even as I could. I know there has to be some fabulous tips for getting things straight and making things easier, but I don't have time to search for it. I'm just winging it...

Ironing 92 inches of fabric on the floor was awesome! How embarrassing, I really need an ironing board!


I didn't even take the time to pin anything, I just folded the fabric over and ironed at the same time, making a 1/2" inseam all the way around. With a 1 and 3 year old, I have to be quick about everything.


Once all four sides were ironed, I sewed around the whole thing. For the top I choose a jute ribbon I found at JoAnn's. The cool thing about these curtains is you can use anything for your loops! Use a contrasting color like I did or white to keep it clean or any fabric to tie in other colors from your room - so simple! I played around a little bit, trying to figure out what I was doing, what was going to look good, length, spacing, etc.


A simple knot...


 Or a bow? The bow is adorable so I chose that. First thing I did was sew on the loop that would hang the curtain.


 Ignore my chippy nail polish. Just a simple stitch is all it takes, not even straight but it works. Then I tied my little bows and shoved them under my needle, which by the way, surprisingly did not break.


Very simple, took less than 2 hours and looks really sweet. Now hopefully I will be inspired to finish the rest of the room.

I'm linking up to these Fabulous blogs...


The DIY Show Off


Saturday, July 30, 2011

Not too Shabby....

I bought a coat rack with awesome hooks a while ago but haven't done anything with it because it might be a little too shabby or too clean looking :) My solution? Take the hooks off and slap them on some old rustic wood of course!

Here's my not so good before picture but just imagine 4 hooks on there.


Way to plain for me. Sorry all you clean loving purists :) After I took the hooks off, I went through my scrap pile of pallet boards and cut them all the same length with my chop caw.


I tried to use my Kreg Jig to attach the boards together, but they were all different widths and the screws were just popping through the front of the boards. So I just grabbed some scrap pieces of 1/4" plywood left over from our window trimming project and nailed them with 5/8" brad nails...easy.

I didn't want to wait for my husband to use his superhero measuring skills so I just eye balled it. I grabbed a blue marker that was on the work bench and colored the little knobs on the back of each hook so I could see where I needed to drill the holes.


Notice one is just a nub and the other is the actual hole for the screw to go through. That was easy enough, I just had to move my bit around to make the holes a bit larger to fit properly. Here's where a countersink bit would have been nice.


All layed out and almost done! I love how it looks and it's so much more unique and really makes me wonder what else I can re-purpose. I love wood but the one thing I absolutely hate is this...

I hate splinters!!! And you know what it doesn't matter how many splinters I get, I continue to skip wearing gloves. This was a big splinter...ouch. I took one for the team.

Once I pulled that massive log splinter out, my hooks were ready to hang. I did not want to have to put any obvious holes through the front to hang it. I thought about drilling the little nub hole all the way through and using that hole for my screws but, oh yeah, how will I get the hook back on. I'm so blonde sometimes. So I just nailed a piece of board to the wall, on the stud, using 2" nails. Using the nails will make it more difficult to remove I think, but nail holes are way smaller than screw holes so nails it is.


Then I just nailed my hooks to the smaller board. I wasn't able to use 2 studs so I hope that the 4 or so nails I put in are going to hold up.

I love it! Now the girls have somewhere to hang their towels instead of the floor.


My Bath House sign was super simple too but I won't bore you with details on that - Go check out Donna over at Funky Junk Interiors for a great tutorial on how to make signs.

Speaking of Donna, I'm linking up to Her Saturday Nite Special this week... just in case anyone else has some hooks laying around.

Wednesday, July 27, 2011

Making a House a Home - Window and Door Casing

So if the jewelry to a cabinet is the knobs and pulls, what is the casing around a window and door? Maybe the under garments? Whatever it is, they just don't look complete without it. Not that people should be seeing your panties or bra. My husband probably thinks I'm crazy when I come up with yet another project but I can't help it! There's always so much to do and to learn...and improve upon.

This walk through from the kitchen to the living room desperately needed some attention. With Paul's awesome measuring skills, it was pretty easy. We picked up some 1x6 pine boards for the inside and 1x4 boards for the outside frame at Home Depot for pretty cheap.


Ew, you can really see the before and after paint colors in that last photo! After gluing and nailing with our 2" finish nailer, it went pretty quick. Here's some shots with all the boards up waiting to be sanded, filled and painted.


Once it's painted and finished and my house is clean enough, I'll post the after pictures. We also started framing out the front window in the front room. I didn't take any before pictures of course but just imagine a plain, boring window. Here's how it looks now with the framing inside and out. We just used 1/4" plywood for the inside and 1x4 on the outside frame. I love it and can't wait to see it all painted and looking good.


It's such a simple thing but it adds so much more character. Kitchen windows are next...


Related Posts Plugin for WordPress, Blogger...